2025 Makeup Tutorial: A Step-by-Step Guide for Beginners!
Welcome to your ultimate 2025 Makeup Tutorial: A Step-by-Step Guide for Beginners! Whether you’re looking to elevate your everyday look or are new to makeup altogether, this detailed guide will walk you through a full face routine using affordable, drugstore products. Follow along as we cover everything from perfectly groomed brows to a flawless finish with setting spray. Let’s dive in!
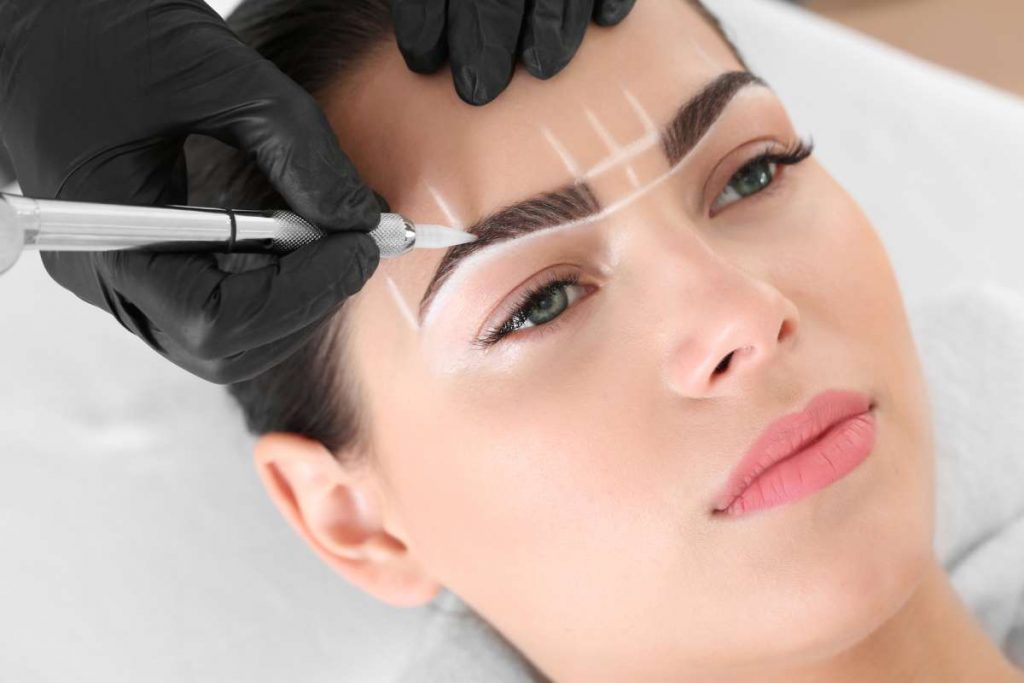
1. Get Your Brows in Shape
Why Start with Brows?
Your brows frame your face. Well-defined brows can enhance your features and set the stage for the rest of your makeup. For beginners, starting with your brows helps you establish symmetry and creates a polished look before adding layers of color to your face.
Tools & Products:
- Brow Gel:
Example: e.l.f. Brow Lift
Use your favorite brow gel to flatten and tame your brow hairs. Brush them in place for a neat, uniform look. - Brow Pencil:
Example: Covergirl Clean Fresh Brow Liner in Black Brown
Fill in any sparse areas with gentle strokes to create a defined shape. Lightly pencil in the brows, following your natural arch.
Tips:
- Work slowly and build up color gradually.
- Always start with a light hand—you can always add more product if needed.
2. Create the Perfect Base: Primer & Foundation
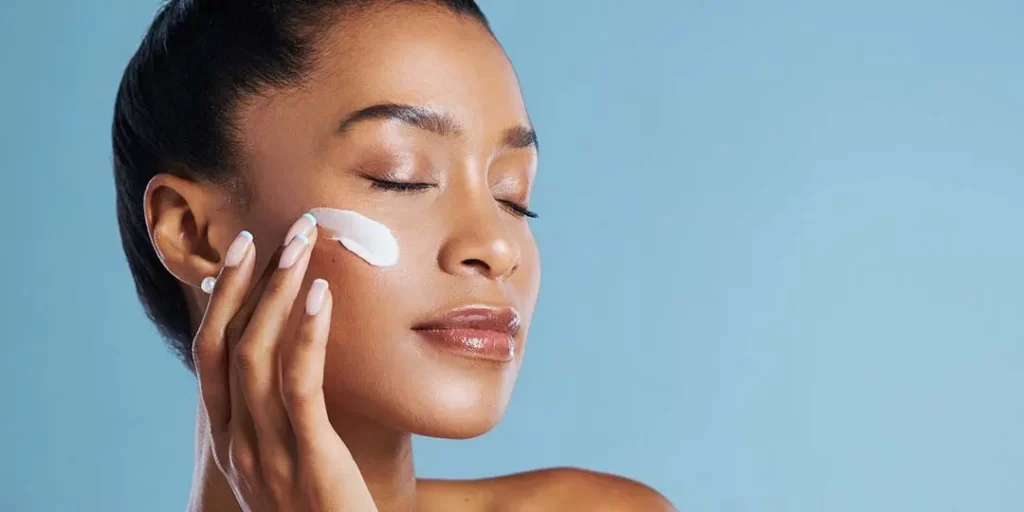
Step 2a: Applying Primer
Purpose:
Primer acts as a protective barrier between your skin and makeup. It smooths texture, minimizes fine lines, and helps your makeup last longer throughout the day.
Choosing the Right Primer:
- Oily Skin: Use a mattifying primer to control oil and reduce shine.
- Dry Skin: Opt for a hydrating primer that locks in moisture.
- General Use:
Example: LA Girl Pro Prep High Definition Smoothing Primer
Apply primer focusing on problem areas (like your T-zone), then blend it evenly across your face.
Step 2b: Applying Foundation
Purpose:
Foundation evens out your complexion and covers imperfections, giving you a smooth canvas to build on.
Choosing the Right Foundation:
- Understanding Your Skin:
Know your skin type (oily, dry, sensitive) and undertone to choose a product that complements your complexion. - Product Example:
Maybelline Fit Me Foundation
Available in both matte/poreless (ideal for oily skin) and luminous/hydrating formulas (great for dry skin).
Application Tools:
- Beauty Blender or Brush:
Use a damp beauty sponge or a dense brush (like the e.l. Ultimate Blending Brush) for a seamless finish.
Application Technique:
- Dispense the Product:
Pour a small amount onto the back of your hand to control the quantity. - Dot Your Face:
Apply small dots of foundation across your face (cheeks, forehead, chin). Avoid the area under your eyes if you plan to use concealer there. - Blend:
- Using a Brush: Use stippling motions, starting from the outer perimeter and working inward. Tap gently to blend the product without streaking.
- Using a Sponge: Dab the product lightly, using the flat side of the sponge to press it into your skin. Remember that a sponge absorbs product, so use dots instead of swiping.
Tip:
- Always blend into your neck to avoid a harsh line.
3. Conceal and Highlight: Concealer Application
Purpose:
Concealer hides dark circles, blemishes, and any spots that need extra coverage. It’s also used to brighten and highlight areas where the light naturally hits your face.
Products & Shades:
- Use a concealer that matches your foundation for spot concealing.
- For highlighting, choose a concealer two to three shades lighter. Example: L’Oreal True Match Serum Concealer available in complementary shades (e.g., one in your match shade and one lighter for highlighting).
Application Areas:
- Under eyes (for dark circles)
- Along the bridge of the nose
- Above the brows, on the forehead, and around the Cupid’s bow
- On any acne marks or hyperpigmented spots
Tools:
- Concealer Brush:
A small, dense brush (like the e.l.f. Flawless Concealer Brush) is ideal for precision. - Beauty Sponge:
Use the pointed tip to blend the concealer in the under-eye area.
Technique:
- Work in Sections:
Start at the inner corners of your eyes and blend outward. - Stippling Method:
Tap the concealer gently into the skin with your brush or sponge, ensuring there are no harsh lines. - Layer if Necessary:
For extra coverage under the eyes, apply a second light layer and blend well.
4. Sculpt and Define: Contour, Powder, and Bronzer
Step 4a: Contouring Your Face
Purpose:
Contouring reintroduces the natural shadows of your face that are hidden under foundation. It helps define your cheekbones, jawline, forehead, and nose.
Products:
- Covergirl True Blend Skin Enhancer Contour Balm or Nyx Wonder Stick in a shade two to three shades darker than your foundation.
Application Areas:
- Cheekbones: Lightly trace along the top of your cheekbone.
- Jawline: Define the edges without extending too far.
- Forehead: Apply along the hairline where natural shadows occur.
- Nose: Draw a subtle line down the sides for a refined look.
Tools & Technique:
- Use an angled brush for precision.
- Dab the product into your skin and blend using gentle circular motions.
- Revisit with a clean brush or sponge to soften any harsh lines.
Step 4b: Setting Your Makeup with Powder
Purpose:
Setting powders lock in your cream and liquid products, preventing creasing and extending the wear of your makeup.
Choosing the Right Powder:
- Translucent Setting Powder:
For lighter skin tones, use a clear/translucent powder. - Tinted Setting Powder:
For medium to deep skin tones, opt for a tinted version (e.g., Black Radiance True Complexion Loose Setting Powder in Honeymoon or Covergirl Clean Invisible Loose Setting Powder in Translucent Deep).
Application Tips:
- Use a Velour Puff or Damp Sponge:
Press the powder into your skin in the areas where you applied concealer and cream products. - Light Hand:
Dust off any excess product on the back of your hand before pressing it into your face. - Blend Carefully:
Focus on setting the areas under the eyes, along the nose, and where creases are likely to form.
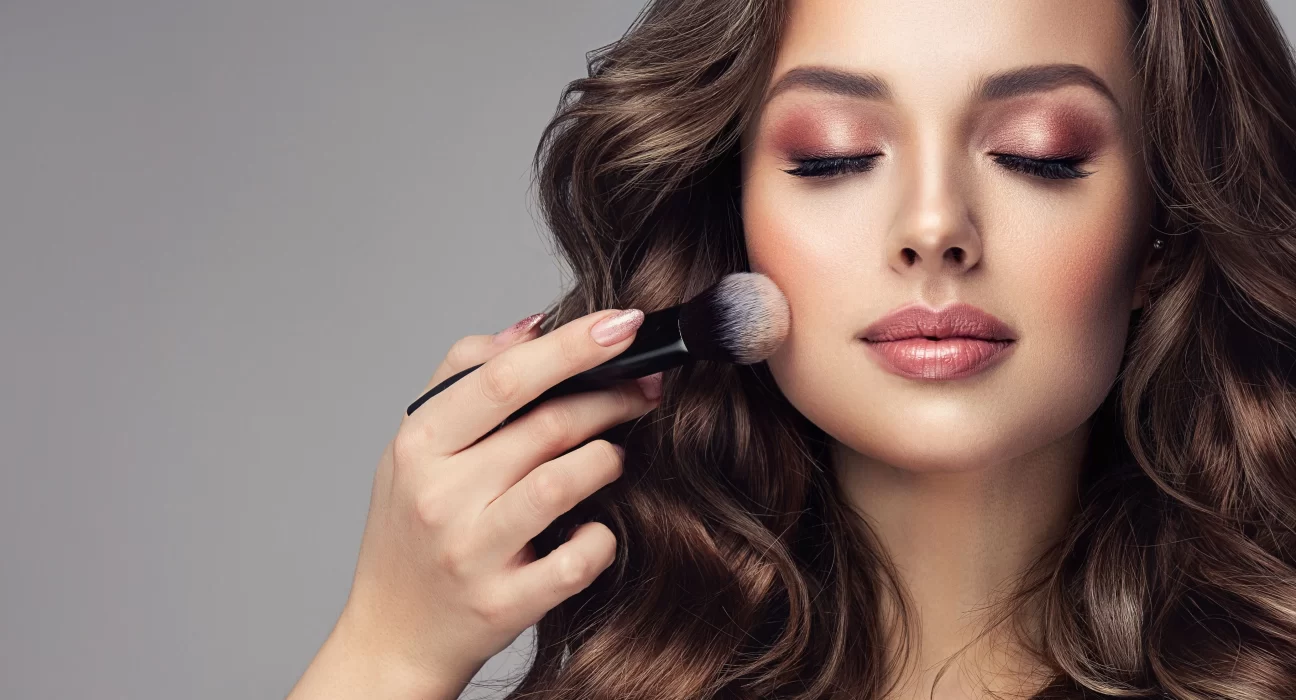
Step 4c: Adding Warmth with Bronzer
Purpose:
Bronzer gives your face a sun-kissed glow and warms up your complexion. It’s a great way to add depth without looking too sculpted.
Product Example:
NYX Butter Melt Bronzer in “Butter Than You” shade.
Application:
- Use an angled or fluffy brush to lightly dust bronzer over your contour areas.
- Apply along the areas where the sun naturally hits—cheekbones, temples, and jawline.
- For a cohesive look, also sweep a light layer over the nose contour.
5. Bring on the Color: Blush and Eye Makeup
Step 5a: Blush
Purpose:
Blush adds a natural flush to your cheeks, giving you a fresh, youthful appearance.
Choosing a Shade:
Pick a color that complements your skin tone. For example, Sephora Collection Colorful Blush in “Over the Toop” works well for a natural, everyday look.
Application:
- Use a tapered blush or contour brush.
- Lightly dust blush over the apples of your cheeks, blending upward toward the temples.
Step 5b: Eyes and Lashes
Eyeshadow:
- Keep it simple by using bronzer as a neutral eyeshadow.
- With a small eyeshadow brush, apply a light sweep of bronzer into the crease to define your eyes.
Eyeliner:
- Tool: Kajal Pencil (e.g., Essence Kajal Pencil in Black)
- Technique: Use short, controlled strokes along the top lash line. Rest your pinky on your cheek for stability and precision.
- For added definition, line your waterline as well.
Lashes:
- Mascara or False Lashes:
Choose your preferred style. For beginners, a quality mascara like Maybelline Sky High is a great start.
For a more dramatic effect, you can apply natural-looking false lashes (e.g., Ardell Demi Wispies).
6. Finishing Touches: Lips and Setting Spray
Step 6a: Lips
Options:
- Lip Liner & Lip Gloss/Lipstick:
Outline your lips with a lip liner (you can use a product that doubles as eyeliner, such as the Padio Eyeliner Pencil) and fill them in with your favorite lip gloss or lipstick. - Neutral Look:
For a natural, everyday look, choose a nude gloss (e.g., Black Radiance Perfect Tone Lip Gloss).
Technique:
- Start at the center of your lips and work outward to maintain symmetry.
- Reapply as necessary for long-lasting color.
Step 6b: Lock It In with Setting Spray
Purpose:
A setting spray ensures that your makeup stays put all day, even through long events or busy schedules.
Product Example:
Milani Make It Last Original Natural Finish Setting Spray
How to Use:
- Hold the spray about 8–10 inches away from your face.
- Close your eyes and spritz evenly over your makeup.
- Let it air dry for a flawless, long-lasting finish.
Final Thoughts
Congratulations! You’ve just completed a full face makeup look that is perfect for beginners. This 2025 makeup tutorial has taken you through every essential step—from prepping your brows to locking in your look with a setting spray—using affordable, drugstore products that work for every skin type. With practice and patience, you’ll gain the confidence and skills to create your own flawless everyday makeup routine.
Remember, makeup is all about enhancing your natural beauty, so feel free to adjust techniques and products according to your personal style and preferences. Enjoy experimenting and have fun perfecting your look!
Happy New Year, sis, and here’s to a year of flawless makeup looks and newfound confidence!