The Right Way to Contour and Highlight Your Face
Contouring and highlighting are essential techniques in makeup that help define and enhance your facial features. When done correctly, contouring creates shadows that sculpt your face, while highlighting adds brightness to accentuate your best features. Whether you’re a beginner or a makeup pro, this guide will teach you the right way to contour and highlight for a flawless look.
Understanding Contouring and Highlighting
Before diving into the step-by-step process, it’s important to understand what contouring and highlighting do:
- Contouring: Uses a darker shade to create shadows, defining areas like the cheekbones, jawline, and nose.
- Highlighting: Uses a lighter shade to bring forward high points of the face, such as the tops of the cheekbones, bridge of the nose, and brow bone.
What You Need
To achieve a well-blended contour and highlight, you’ll need the following products:
- Contour Products: Choose a matte bronzer, contour stick, or foundation that is 1-2 shades darker than your natural skin tone.
- Highlighting Products: Opt for a concealer, liquid highlighter, or powder that is 1-2 shades lighter than your skin tone.
- Makeup Brushes or Sponges: A beauty sponge, angled contour brush, and fan brush will help blend the products seamlessly.
- Setting Powder: Helps lock in your makeup for all-day wear.
- Blush (Optional): Adds a natural flush to complement your contoured look.
Step-by-Step Guide to Contour and Highlight
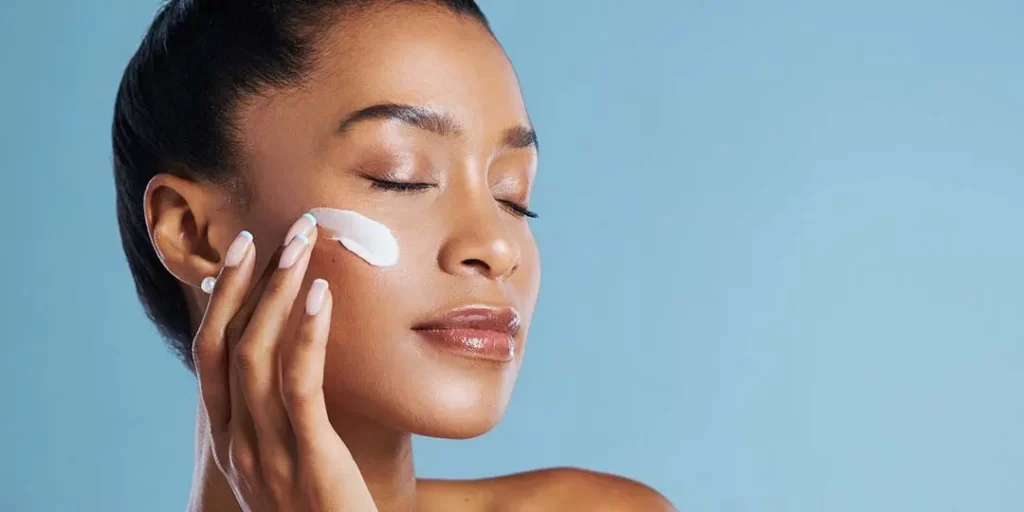
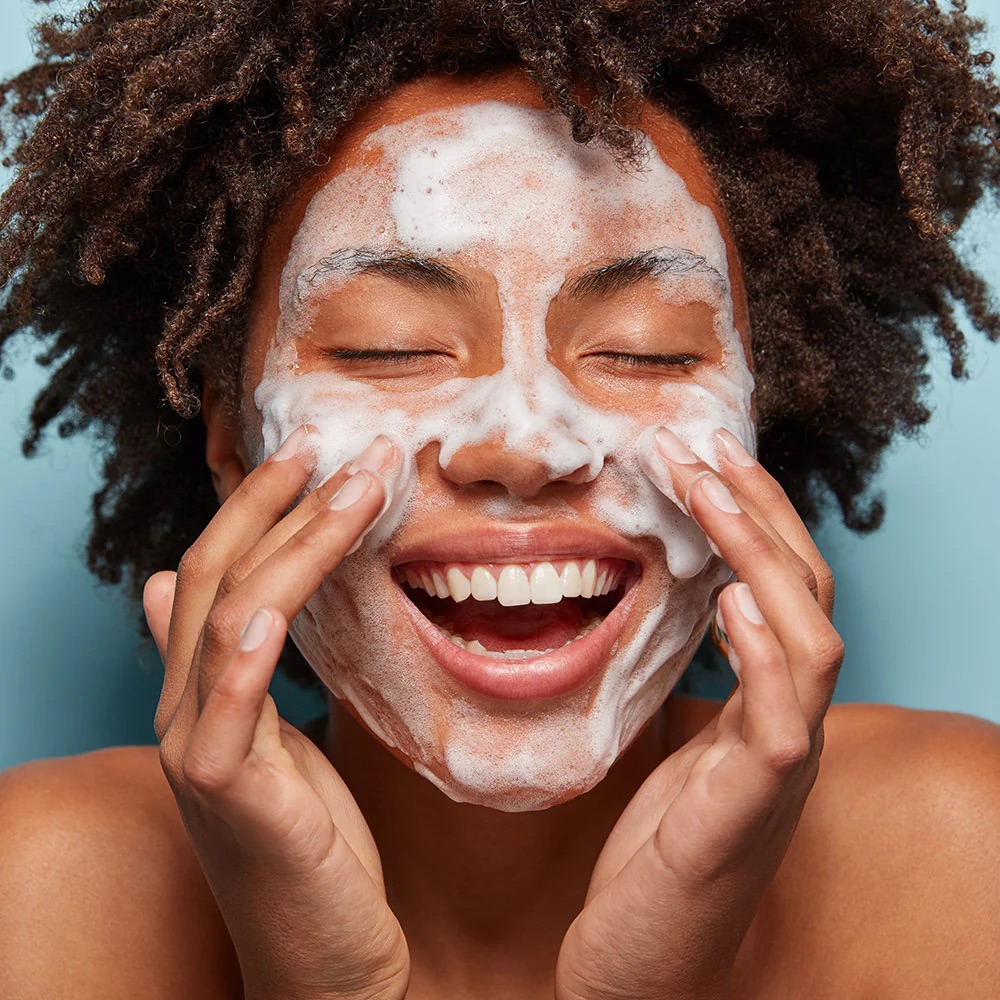
Step 1: Prep Your Skin
Before applying any makeup, cleanse and moisturize your skin. Use a primer suited for your skin type to ensure a smooth base.
Step 2: Apply Foundation
Even out your skin tone by applying your regular foundation. Blend it well with a damp beauty sponge or foundation brush.
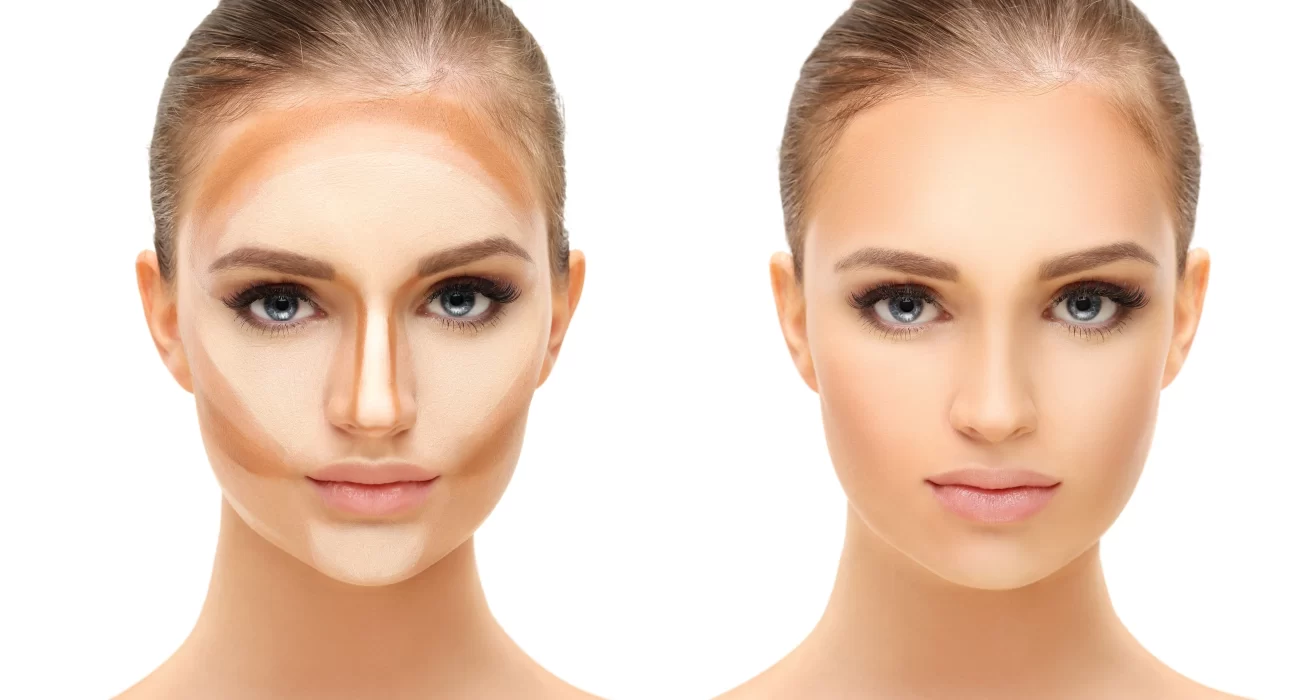
Step 3: Contour Your Face
- Identify the areas you want to define: cheekbones, jawline, forehead, and nose.
- Using your contour product, apply it in the following areas:
- Cheekbones: Draw a line from the middle of your ear towards the corners of your mouth (stop halfway).
- Jawline: Apply along the edges to create a sharper jaw.
- Forehead: If you have a larger forehead, apply contour along the hairline to minimize its appearance.
- Nose: Draw two lines along the sides of your nose for a slimmer effect.
- Blend using circular motions with a brush or dab with a beauty sponge for a seamless finish.
Step 4: Highlight Key Features
- Apply your highlighter or lighter concealer on the high points of your face:
- Under the eyes: Brightens and lifts your face.
- Bridge of the nose: Defines and elongates the nose.
- Forehead: Adds dimension to the center of your face.
- Chin: Enhances the lower face.
- Brow bone: Lifts the brows and adds definition.
- Blend with a sponge or small brush until there are no harsh lines.
Step 5: Set Your Makeup
- Use a translucent setting powder to set the highlighted areas and prevent creasing.
- Apply a light bronzer over the contoured areas to add warmth.
- Optional: Add blush to the apples of your cheeks for a natural glow.
Step 6: Final Touches
- Use a setting spray to lock in your makeup and keep it looking fresh all day.
- Check for any harsh lines and blend further if needed.
Bonus Tips for a Perfect Contour & Highlight
- Choose the right shade: Too dark or too light shades can look unnatural.
- Blend, blend, blend: The key to a natural finish is seamless blending.
- Use cream products for a dewy look and powders for a matte finish.
- Apply highlighter strategically: Avoid highlighting textured areas if you have acne or large pores.
By following these steps, you can master the art of contouring and highlighting to enhance your natural beauty. Whether you’re aiming for a subtle everyday look or a dramatic sculpted effect, practice and the right techniques will ensure a flawless result every time!